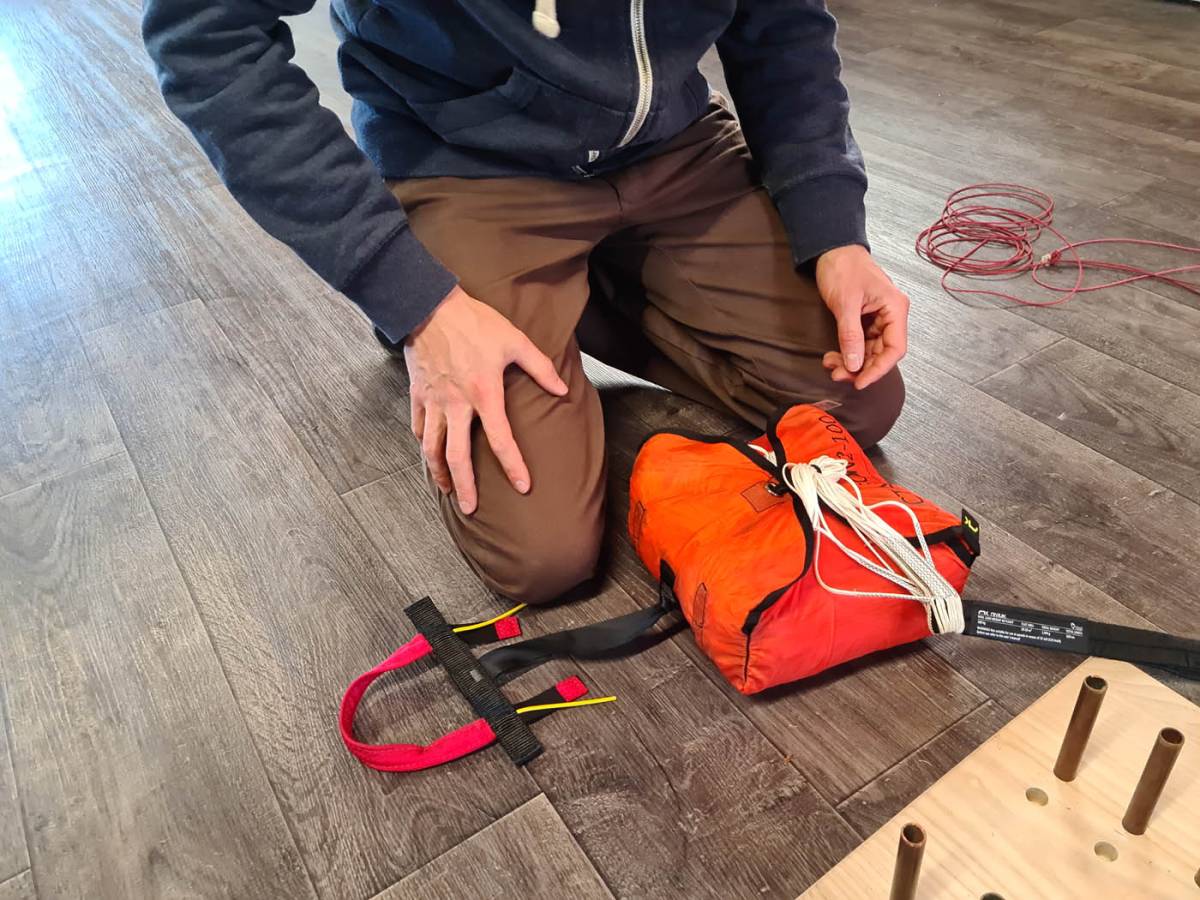
The full deployment of the parachute on the ground is important for several reasons:
The parachute in this tutorial is an Octagon 2 parachute with a square or rather octagonal shape that offers greater stability than a classic dome-shaped parachute.
At the top of each panel there is a small sewn-in garrote. These are working toggles that will be used a little later for folding.
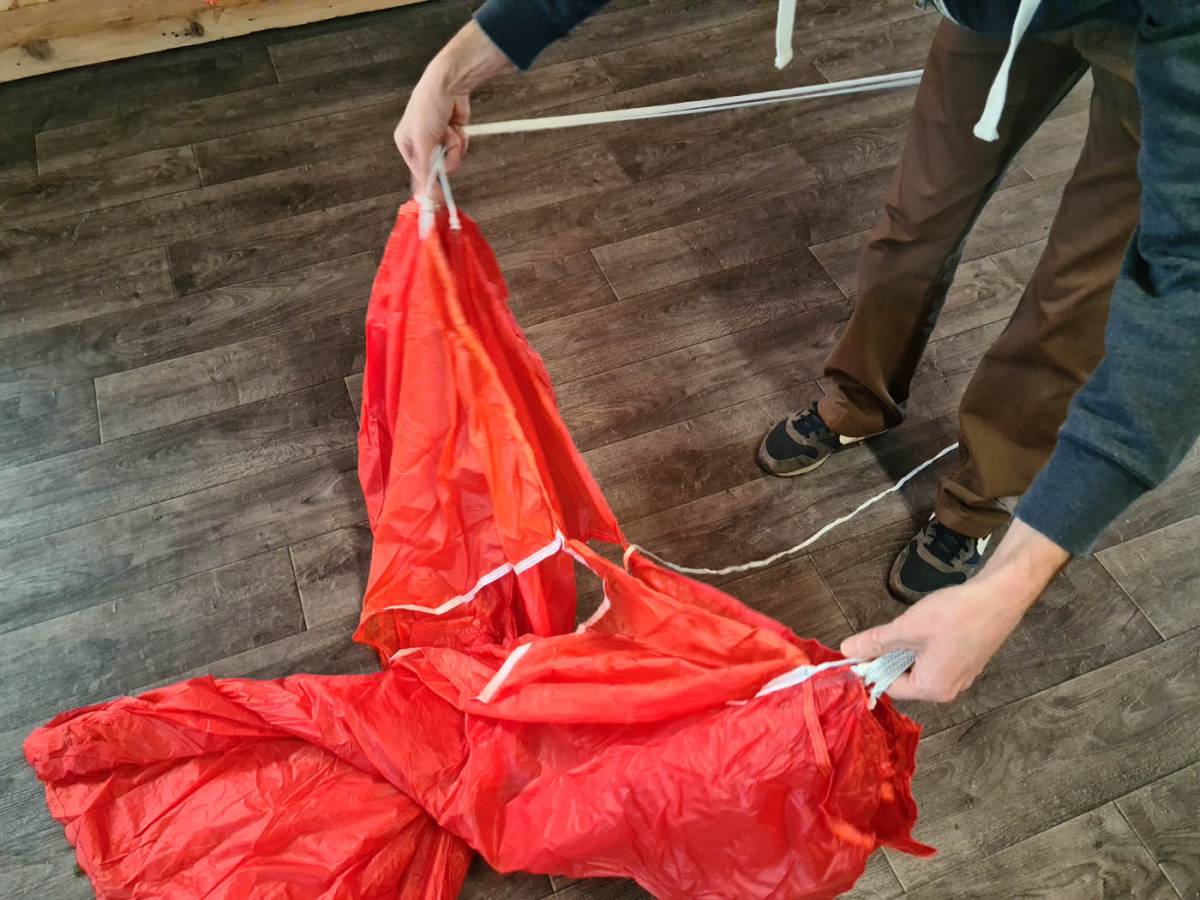
Whatever type of rescue parachute you use, the first thing to check is the fabric, to see if there are any holes or tears, and if the fabric is in good condition.
The second check concerns the lines.
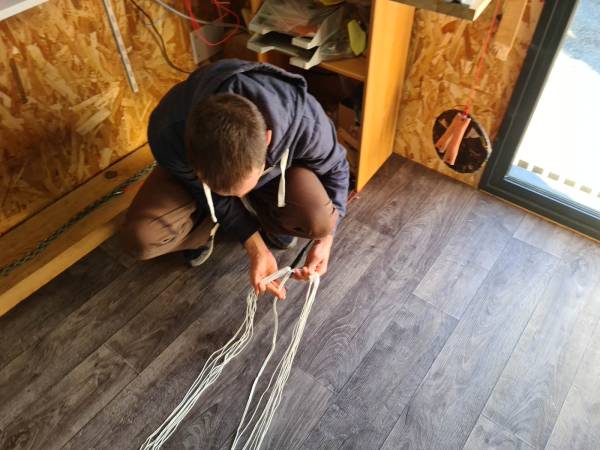
It's crucial to disentangle the left and right lines. To do this, you can use a detangling comb to start at the riser and gradually work your way up towards the parachute, to check that there are no capping lines, i.e. lines running all the way around the others at the top of the line cone, which could cause problems during opening. We also check that there are no twist turns or crossed lines.
As a reminder, on this type of parachute, the central line is the Apex line, which gives a slightly recessed shape at the top.
If some lines are crossed, they need to be re-crossed at the base of the riser link.
If the lines have been corrected, you'll need to do a check comb again once all the lines have been put back in place and the link tightened.
Start by passing a working line through all the little toggles at the top of the reserve parachute panels. On the Niviuk Octagon 2, these are green on one side and white on the other.
Tip: the easiest way to make sure you don't miss a single toggle when packing a rescue parachute is to always follow the contour with your fingers. That way, you'll always be sure to land on the next toggle.
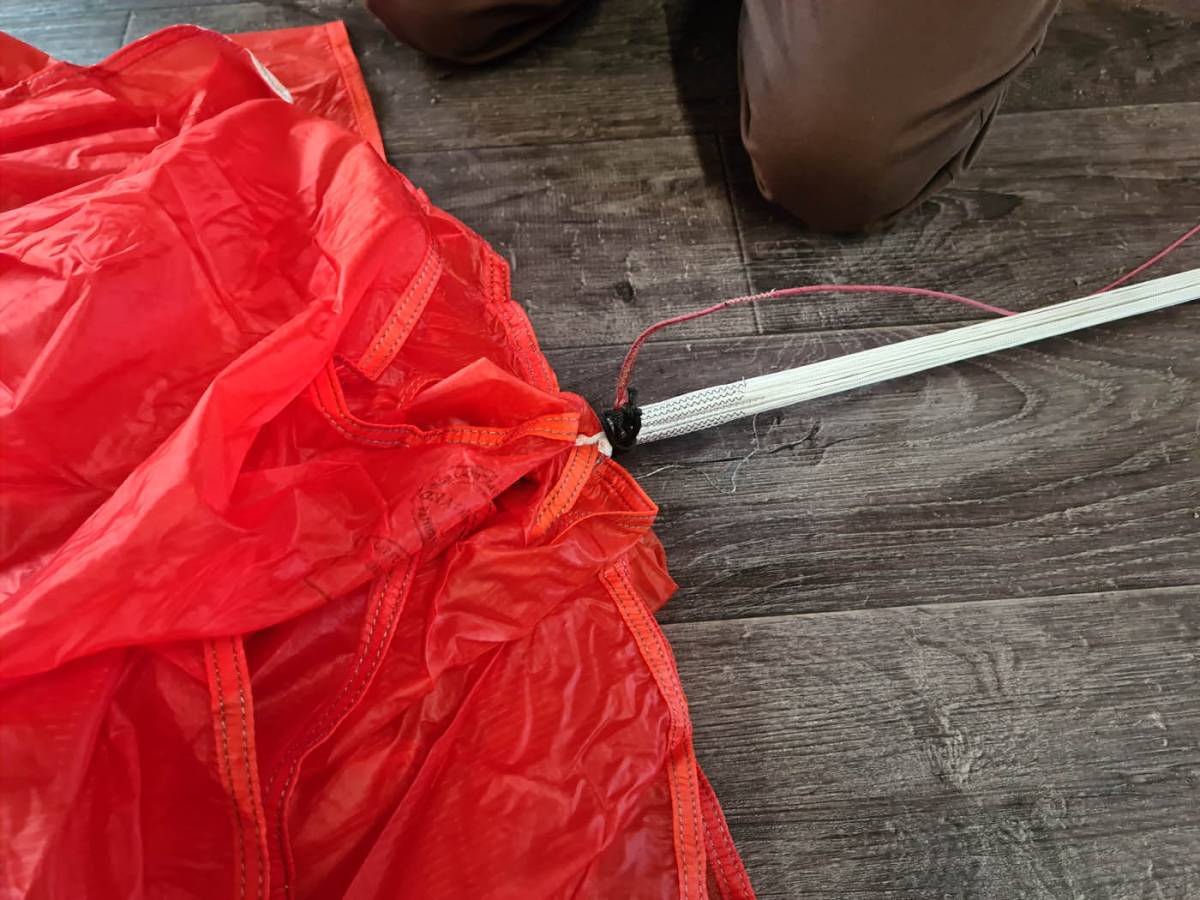
Once you've passed through all the tourniquets, tighten them and tie a small locking knot that's easy to undo later. This working line will enable you to tension the parachute.
You also need to tie all the parachute lines to the base of the panels with a second working line, to prevent the parachute from moving away when you pack it. Tie them tightly together, again with an easy-to-untie knot.
DANGER: These working lines must be removed at all costs at the end of the packing process, otherwise you could die! To make sure you don't forget it, we advise you to choose a line color very different from your reserve. It will then always be visible.
The parachute must now be tensioned from the riser to the toggle line. To do this, attach the riser to a fixed point and manually tension the parachute, starting from the bottom of the lines and working your way up to the top of the parachute.
Important: For a good packing, all fabric panels must be outside the lines like an umbrella. A panel that is hidden on the inside could cause an abnormal air intake when opening and a reversal of the parachute. The panels should be re-covered one by one on the bottom and then on the top of the canopy before the final packing.
On the Octagon 2, all panels are numbered from 1 to 16 for easy identification.
The first step is to lay all 16 panels flat. Once again, we'll follow the seams to make sure we don't miss a panel that's folded up in the middle of the others.
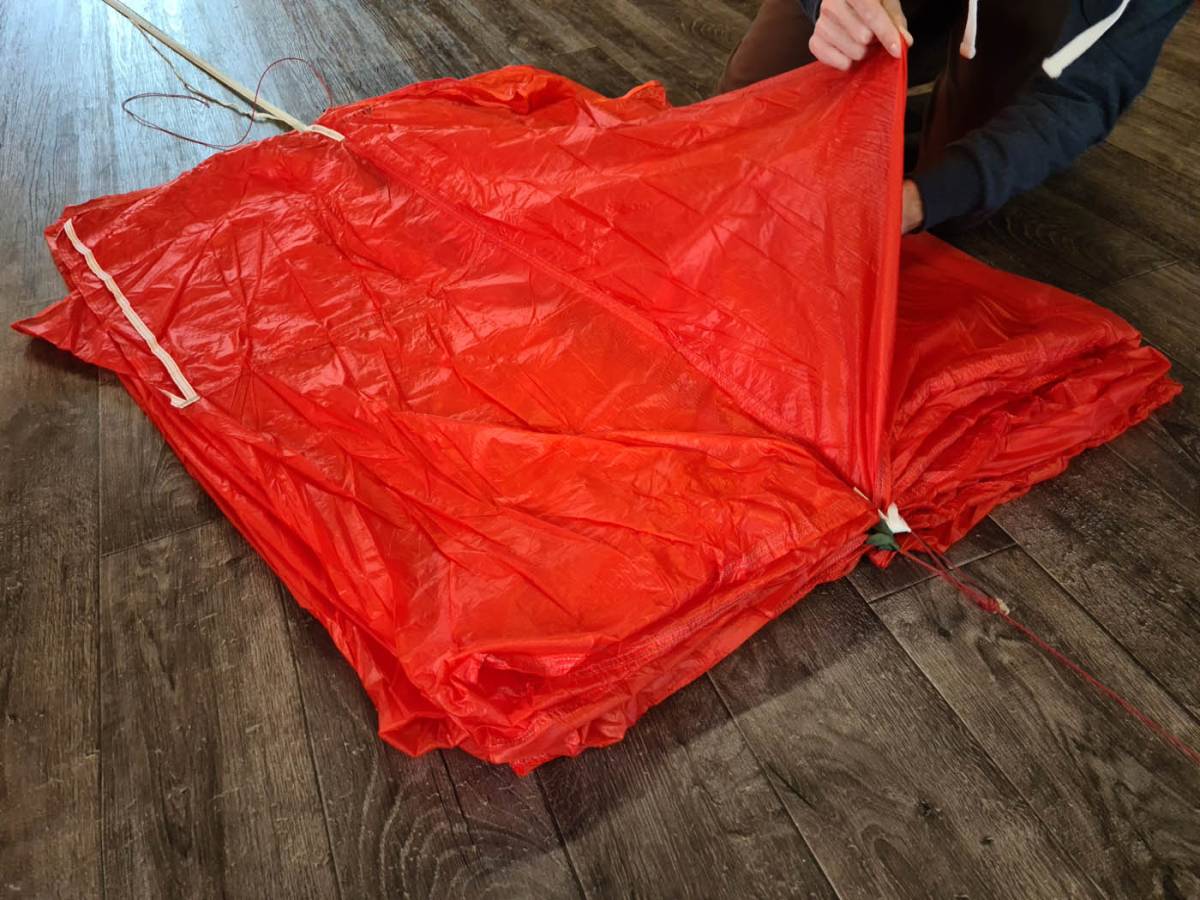
Each parachute has its own optimized packing instructions. Here is the method recommended by Niviuk for its Octagon 2 square parachute.
For this operation, it's best to have two people or to have some weights at hand.
On the Octagon 2, we start by reducing the leading-edge angles to 45 degrees, then fold 2/3 of the panels on each side towards the inside of the parachute. Each side is then folded back on itself a second time. The axis of the parachute, marked by the apex, must remain in the center of the sail.
The folding method in pictures:
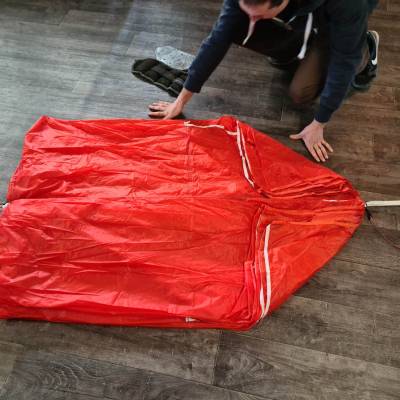
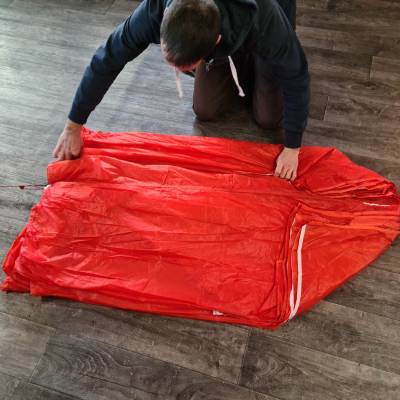
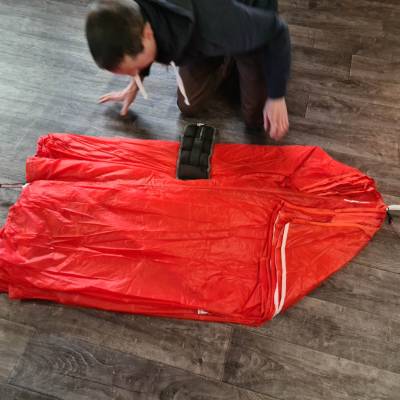
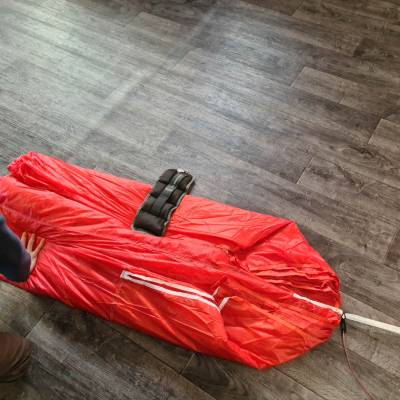
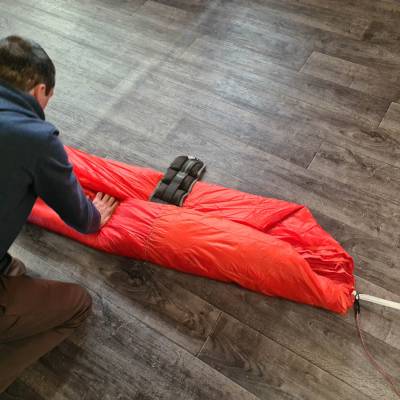
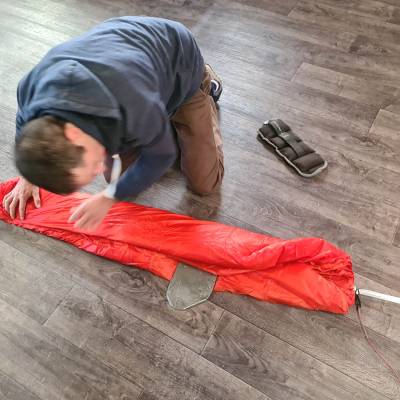
The working line on the garcettes side can now be removed.
Then you need to take the parachute pod template and carefully fold the parachute so that when folded it will fit the size of the pod.
The Octagon 2 pod is supplied as standard with a dedicated slot and holders for the coiling elastics. These elastics need to be changed each time the pod is folded. The pod is also equipped with two closing elastics, whereas conventional pods usually only have one. So you'll need to loop twice to lock the first two flaps, then the next two.
The rescue is folded accordion-style as for a dome parachute, then the pod is placed over it, opening downwards, with the luffing elastics on the line side.
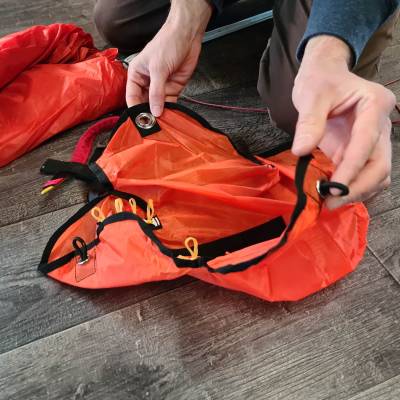
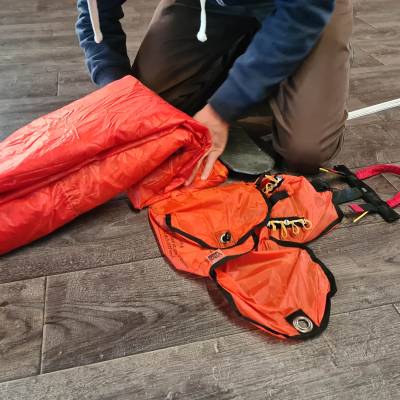
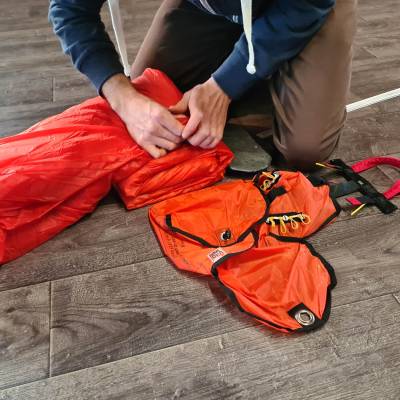
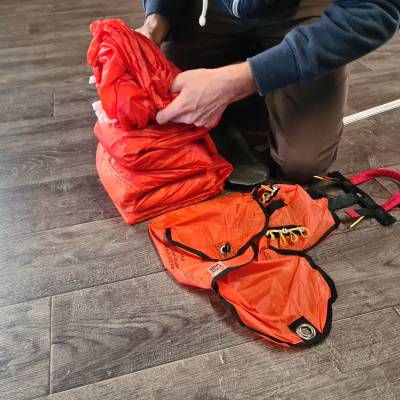
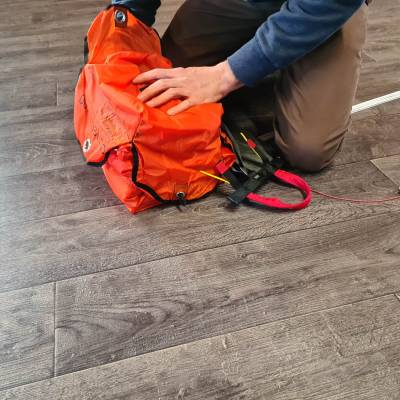
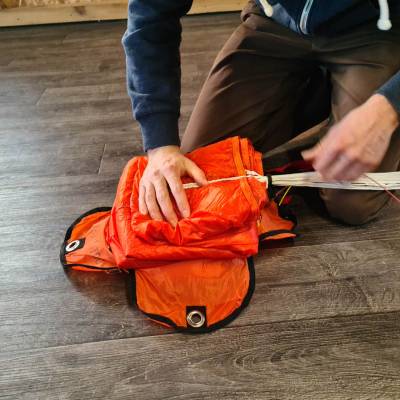
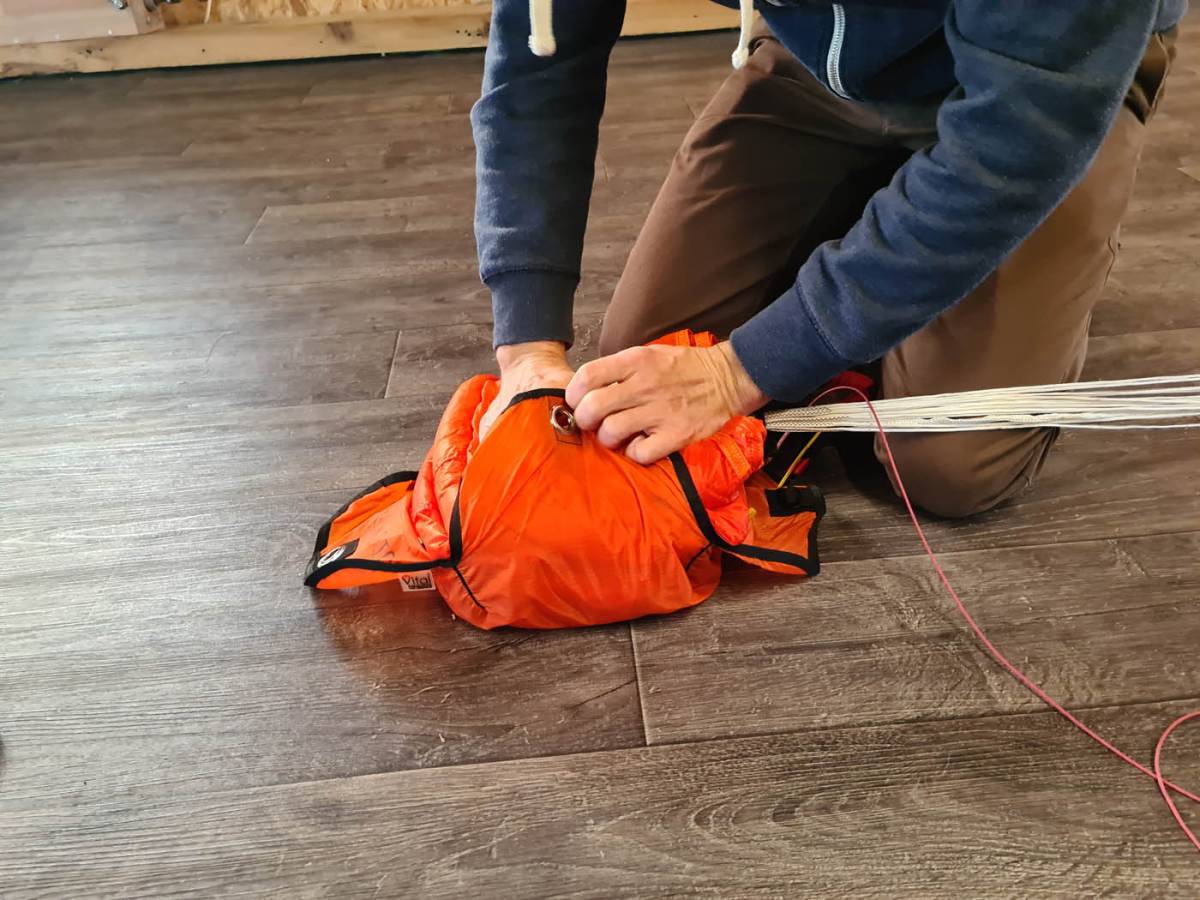
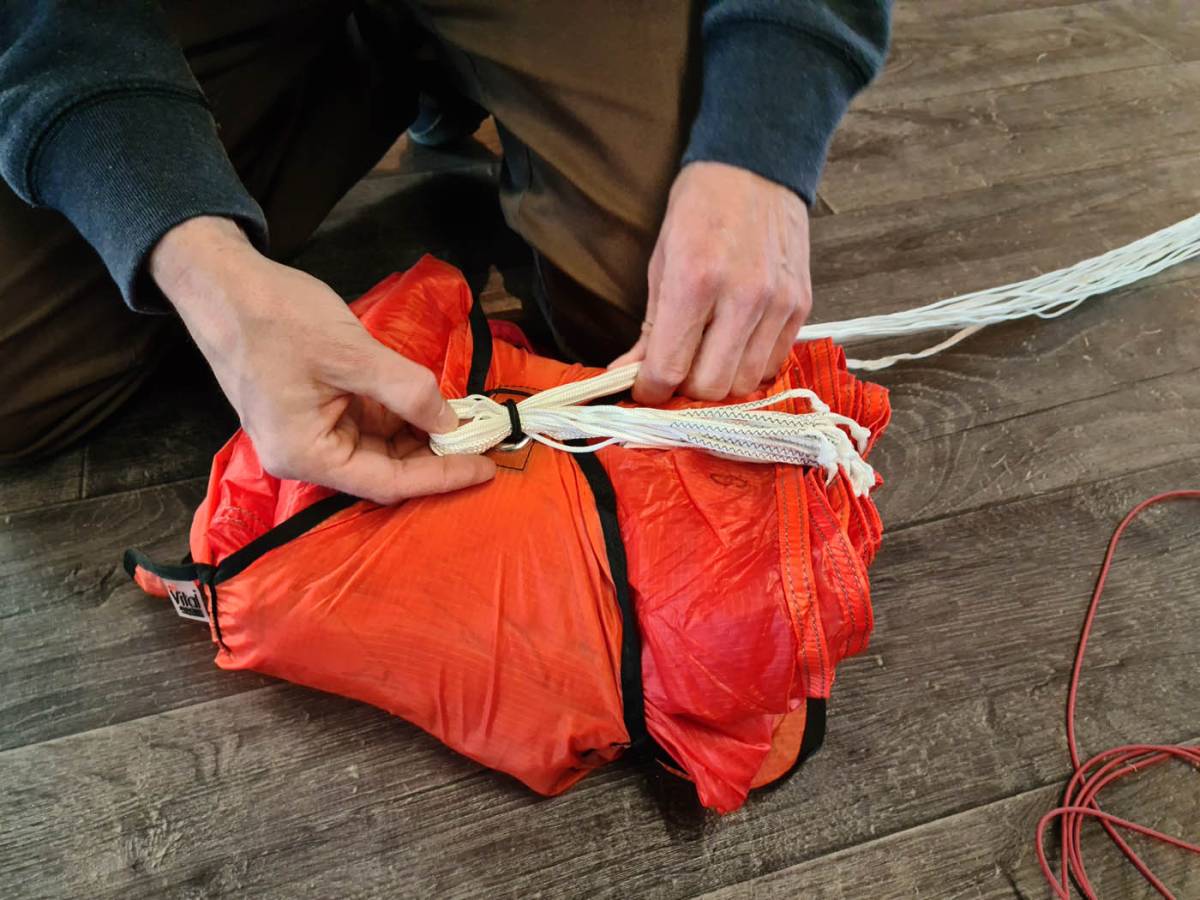
Once the accordion folding is complete and the reserve is safely stowed in the pod, you can lock the first two flaps by making a first loop with the line bundle.
We can then move on to the next stage, namely the complete coiling of the lines and the complete closing of the pod via the eyelets on the last two panels.
ATTENTION: remember to remove the second working line, which locks the parachute lines together, before you start coiling!
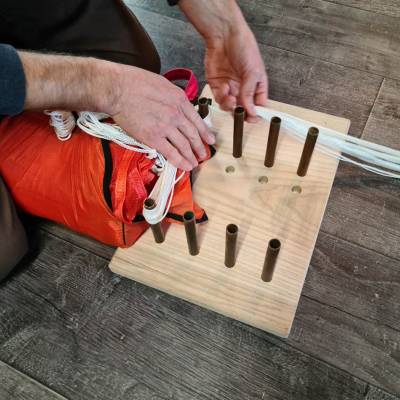
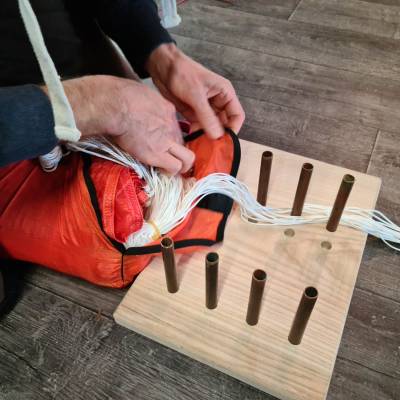
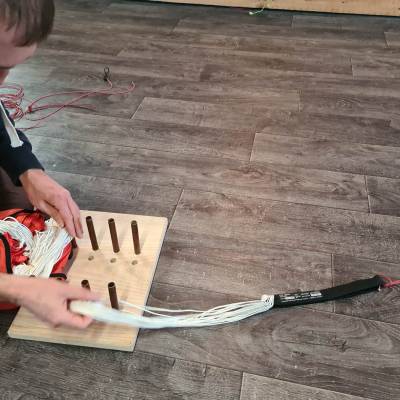
At the end of the coiling process, remember to leave about 1 metre of line free, as well as the last loop without elastic, as this will close the pod.
Finally, pass the pod closing elastic through the eyelets of the last two flaps, which will lock the last loop of the parachute. This loop should protrude 2/3 fingers.
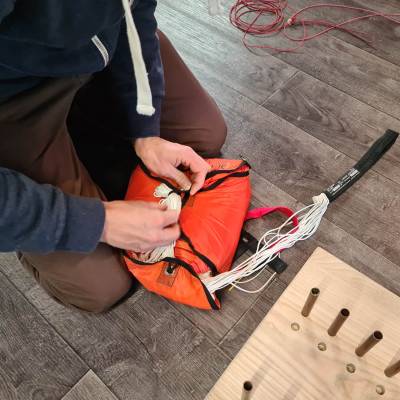
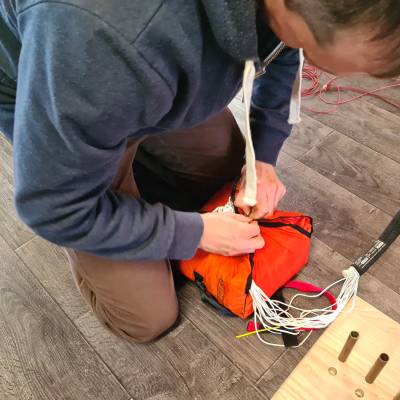
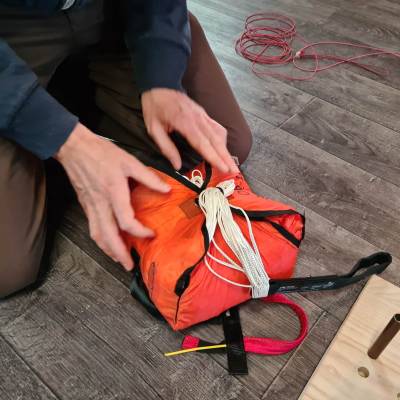
The folding is now complete:
