The full deployment of the parachute on the ground is important for several reasons:
The parachute in this tutorial is a dome parachute with a half sphere shape that looks like the top of an apple with the top slightly tucked inside.
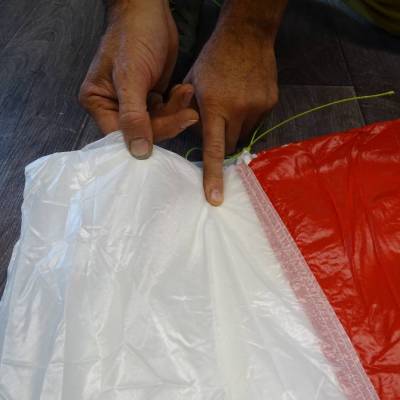
At the top of each panel there is a small sewn-in garrote. These are working toggles that will be used a little later for folding.
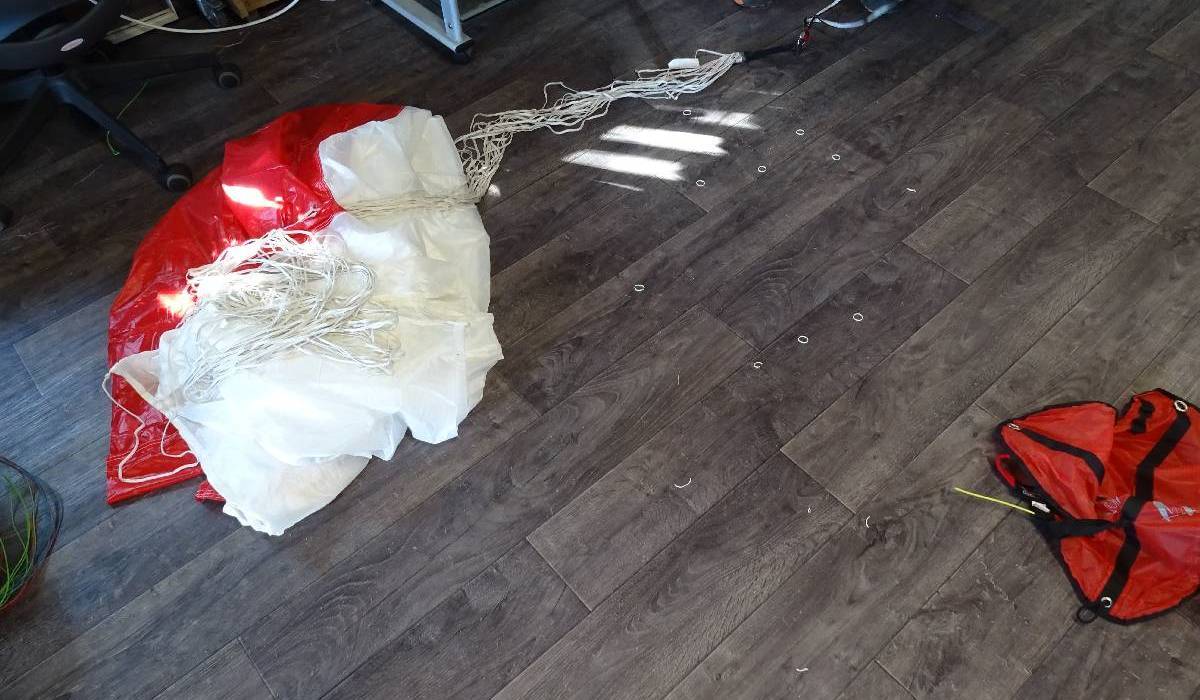
The first check to be made is a visual check of the canvas to see if it is in good condition and not perforated of course.
The second check is on the lines.
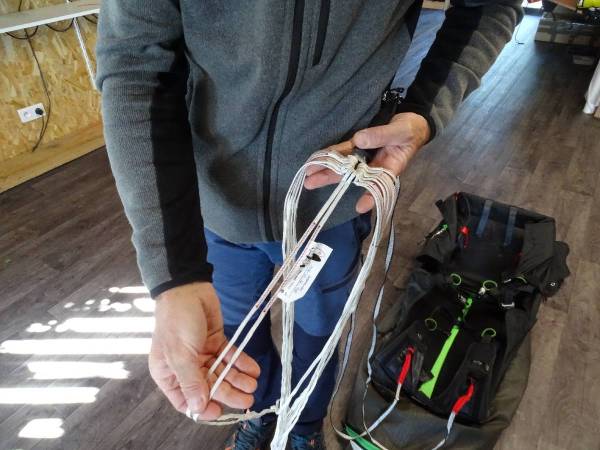
It is important to separate the right and left lines. To do this you can use a comb to go back up to the canopy to check that no lines are crossed or go all the way around the others at the top of the line cone which could cause problems when opening.
As a reminder, on this type of parachute, the two central lines are those of the Apex, which allow to obtain an apple shape slightly recessed at the top.
If some of the lines are crossed, they must be reattached to the riser link.
If the lines are corrected, a check comb should be done once all the lines have been re-installed and the link tightened.
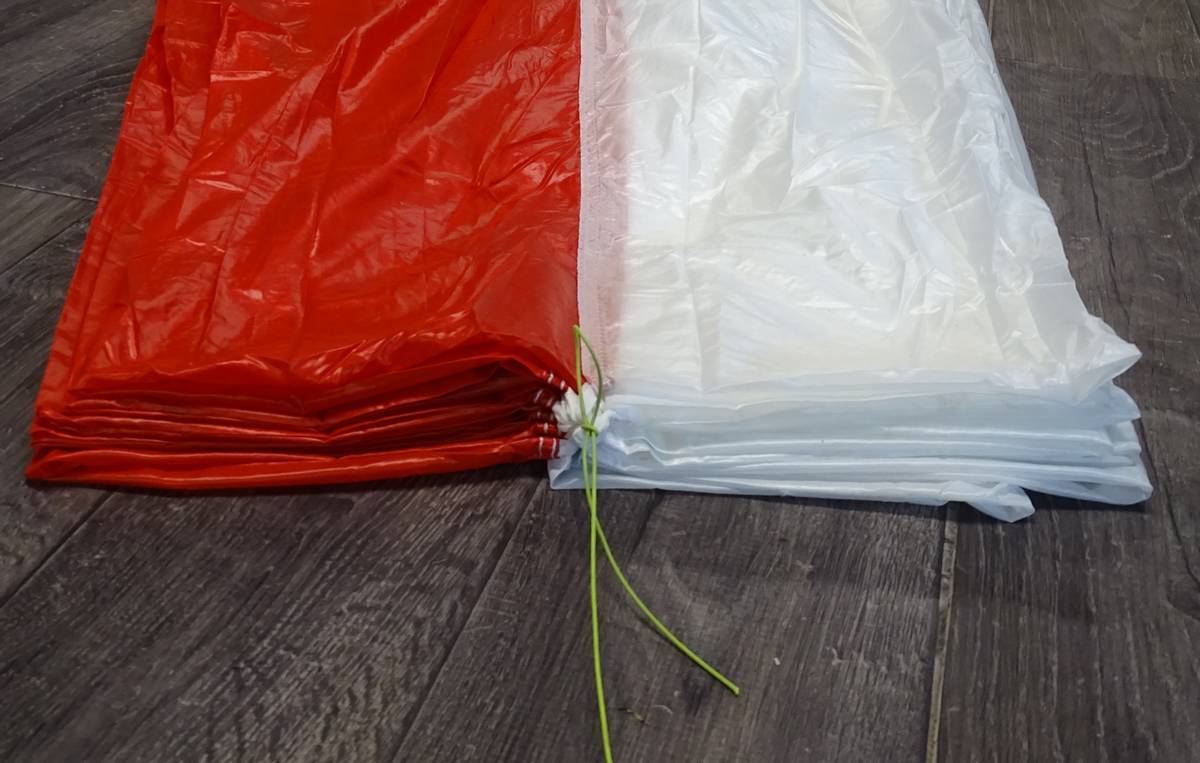
Start by threading a working line through all the little eyelets at the top of the rescue parachute panels.
Tip: To make sure you don't forget any of the loops when packing a reserve parachute, it is easiest to follow the fabric with your fingers.
Once you have put all the knots in the rescue parachute, tighten them well and make a small knot that can be easily untied later on. This working line will allow you to tension the parachute.
You must also tie all the lines of the parachute to the base of the panels with a second working line to prevent the parachute from moving away when you pack. They should be bundled together and tied tightly with an easy-to-untie knot.
DANGER: These working lines must be removed at all costs at the end of the packing process or you will die! To make sure you don't forget it we advise you to choose a very different colour line from your reserve. This way it will always be visible.
The parachute must now be tensioned from the riser to the toggle line. To do this, attach the riser to a fixed point and manually tension the parachute, starting from the bottom of the lines and working your way up to the top of the parachute.
Important: For a good packing, all fabric panels must be outside the lines like an umbrella. A panel that is hidden on the inside could cause an abnormal air intake when opening and a reversal of the parachute. The panels should be re-covered one by one on the bottom and then on the top of the canopy before the final packing.
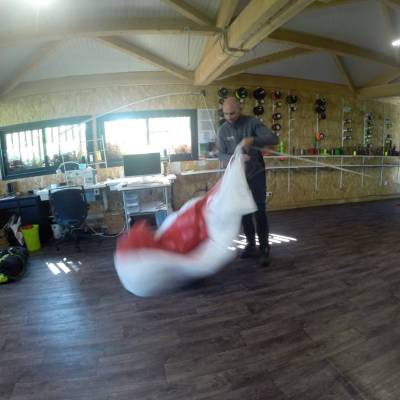
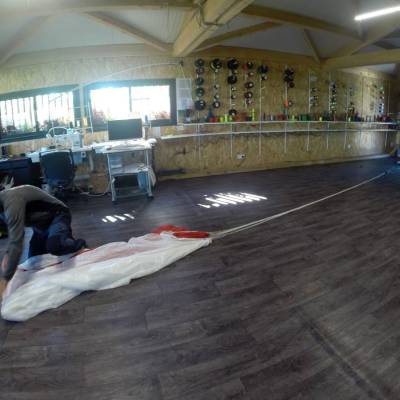
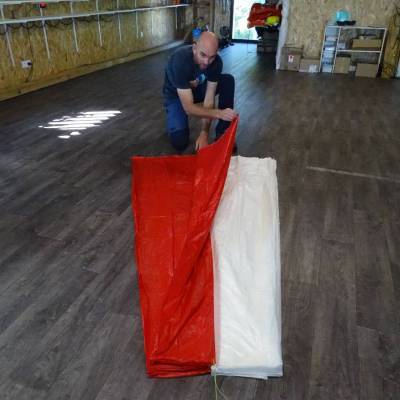
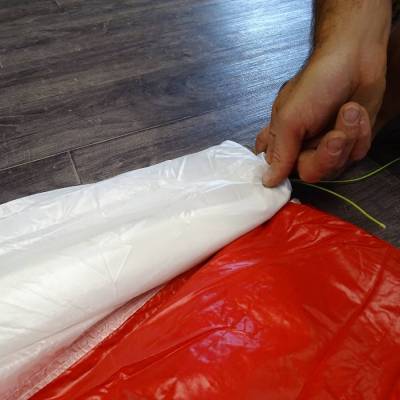
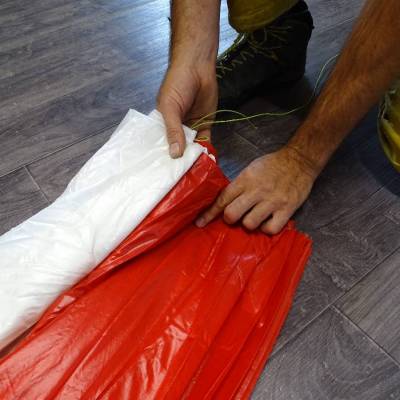
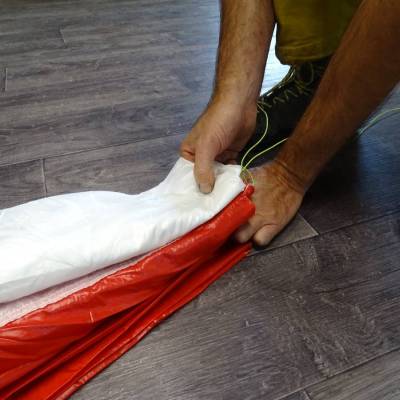
Each parachute has optimised packing instructions. Some methods consist of folding the leading edge and then simply folding the canopy over itself. On this model the manufacturer recommends an S fold, with all the red panels folded in an S shape from above for example and all the white panels folded in an S shape from underneath, along the whole length.
It is best to have two people for this operation.
The folding method in pictures:
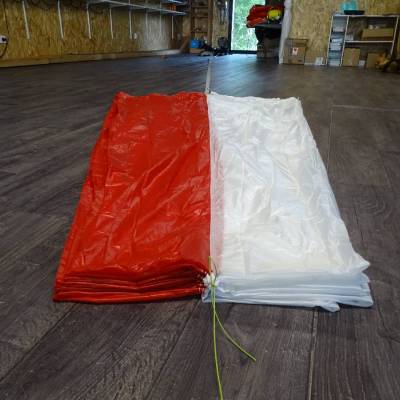
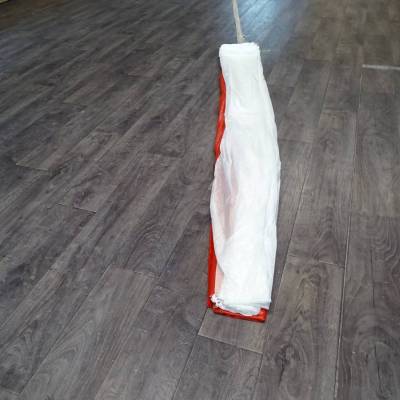
Then you need to take the parachute pod template and carefully fold the parachute into an S shape so that when folded it will fit the size of the pod.
Tip: It is better to have two people: one holding the top of the canopy taut and the other folding it into an S shape at the base.
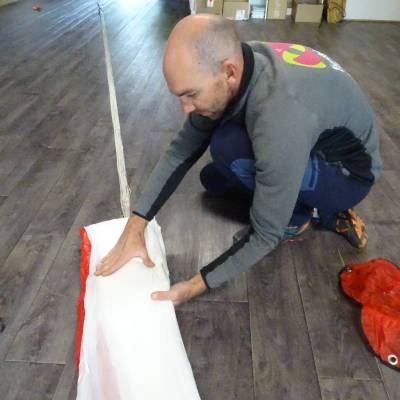
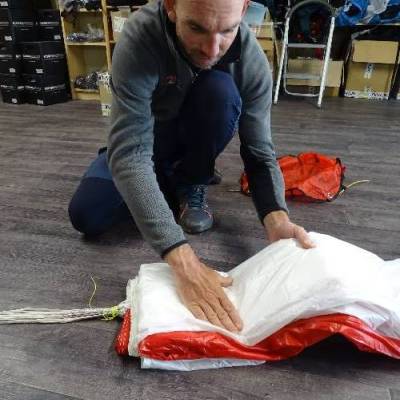
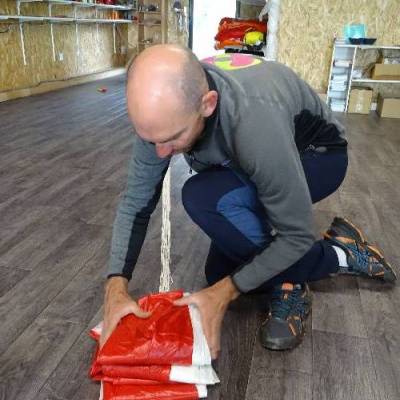
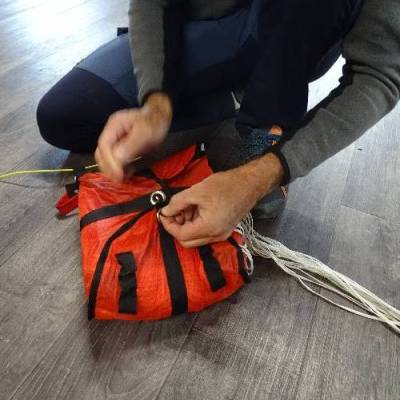
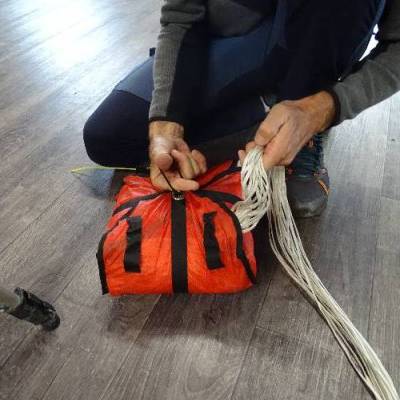
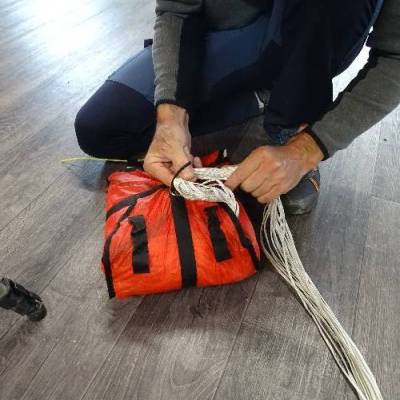
The pod is then placed on top, opening downwards, with the rubber band well away from the lines. You can turn the whole thing over and then pass the elastic through the first three eyelets of the pod. The lines are then folded into an S shape, making loops.
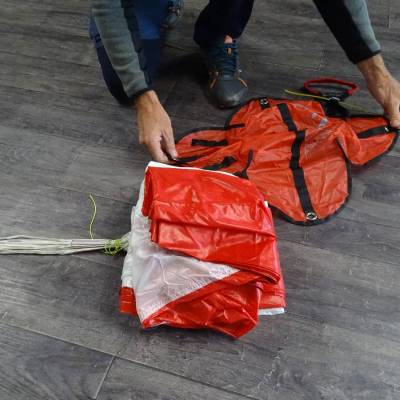
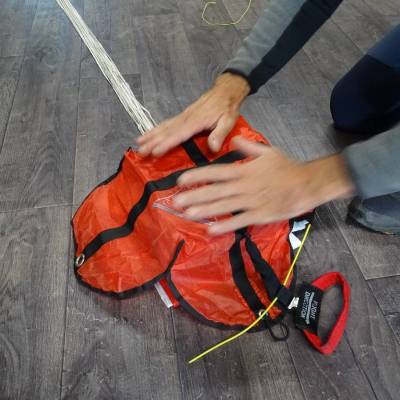
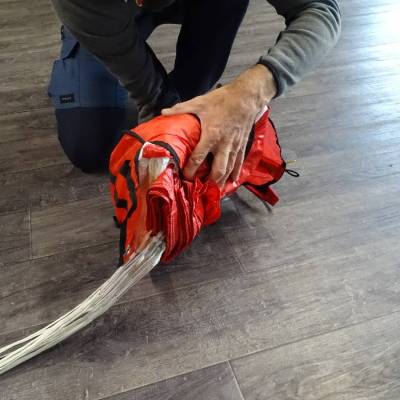
And be sure to remove the working lines before moving on!
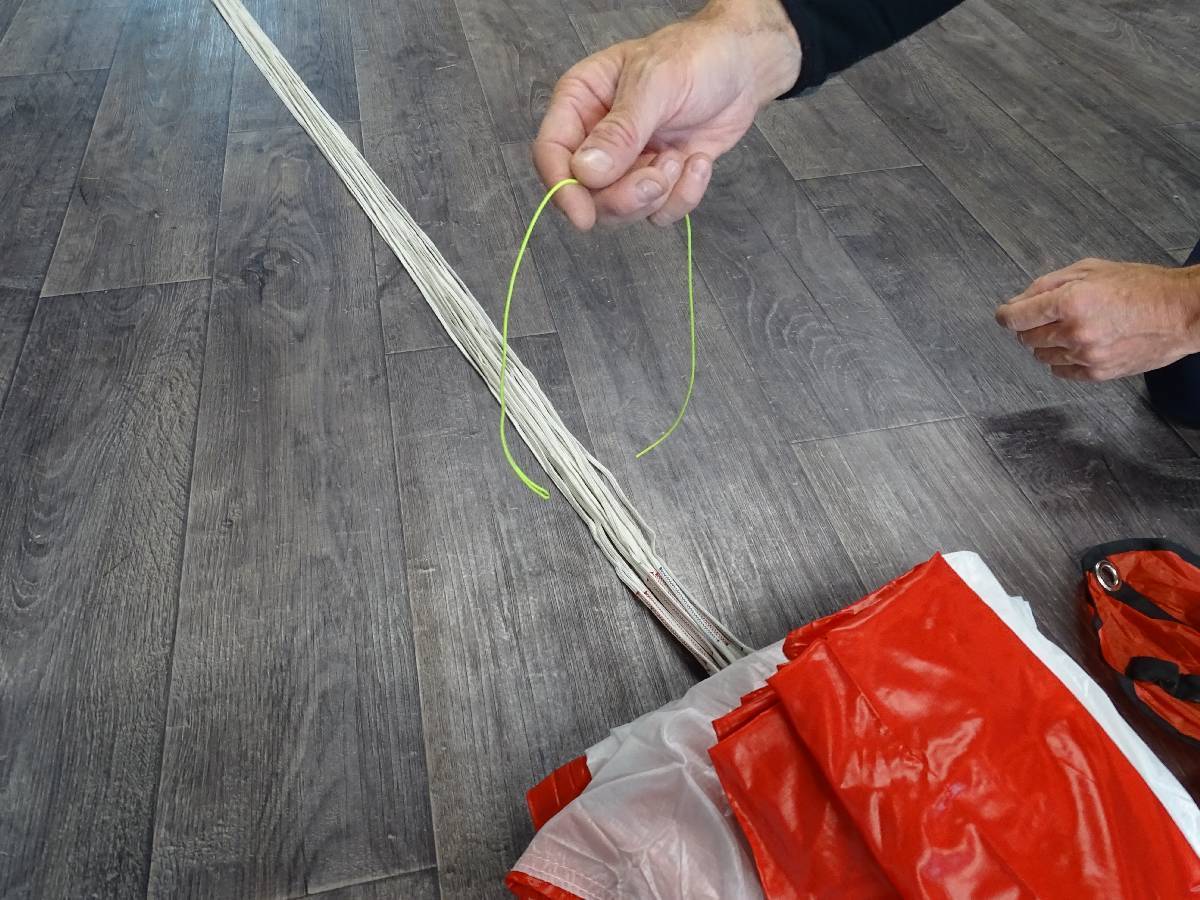
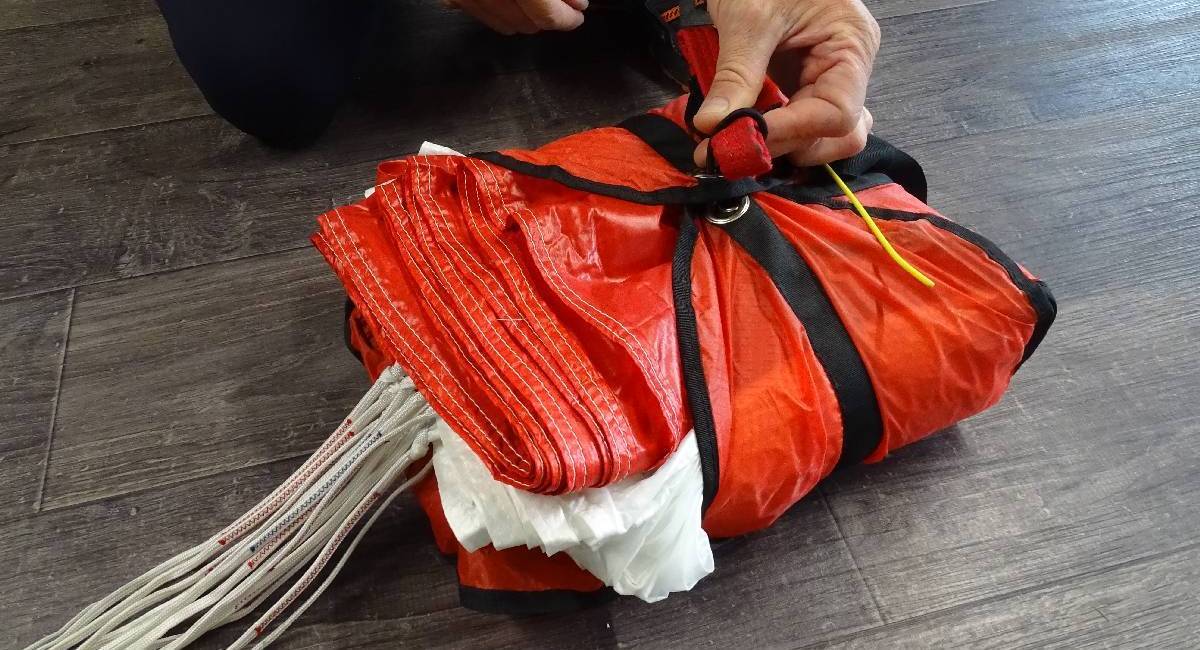
Small rubber bands should be placed on the line loops thus formed to ensure perfect storage.
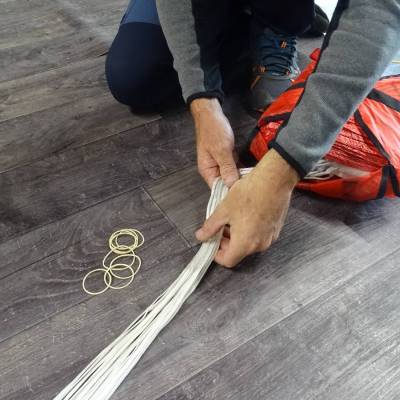
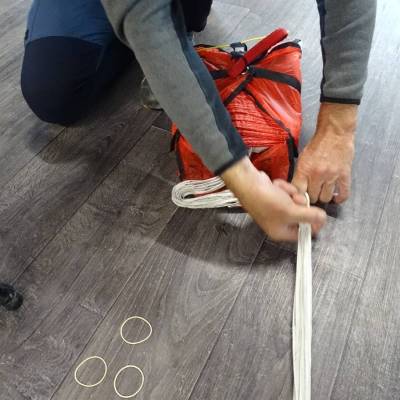
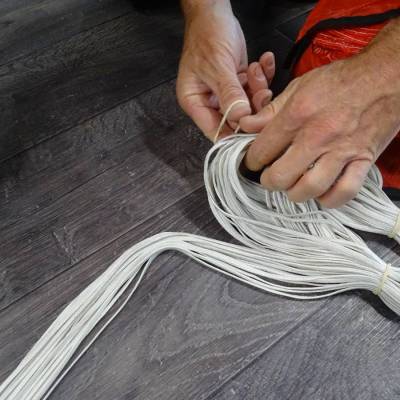
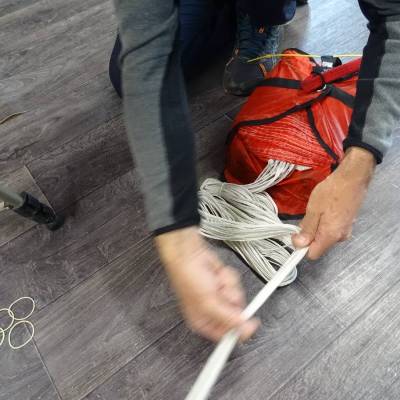
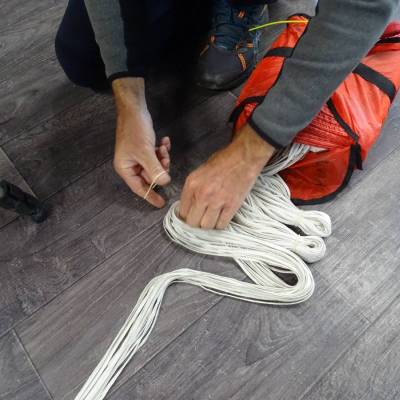
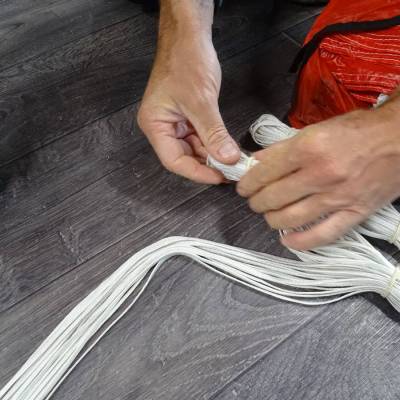
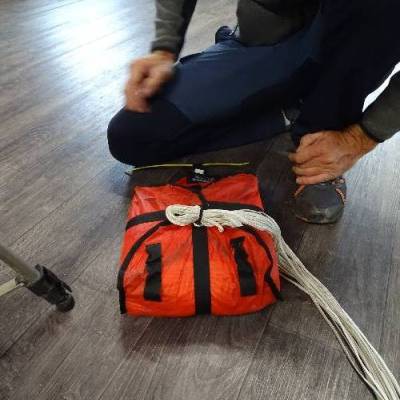
Remember to leave 1 meter of line free as well as the last loop without elastic, as this is what will close the pod.
Then, pass the elastic closing the pod in the 4th eyelet as well as around the last loop of the parachute, which will be left 2/3 of a finger long.
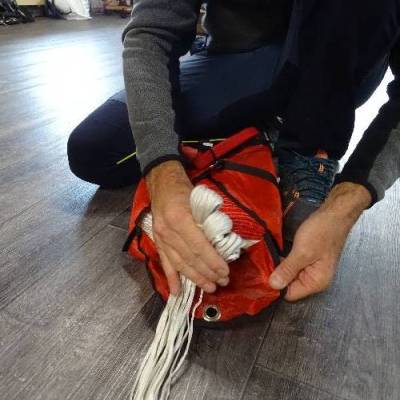
And this is the result:


